A designer I spoke to recently had been quietly trying something.
She'd taken a few of the AI workflows I'd shared here and started testing them on actual client projects. I didn't know she'd gone this far with it until she messaged me with a screenshot and a single line: "I can't believe how much time this is saving me."
She wasn't talking about minutes. She was talking about hours. The kind that used to disappear into browser tabs, saved folders, and the slow, manual work of pulling a coherent visual direction together from a scatter of saved images.
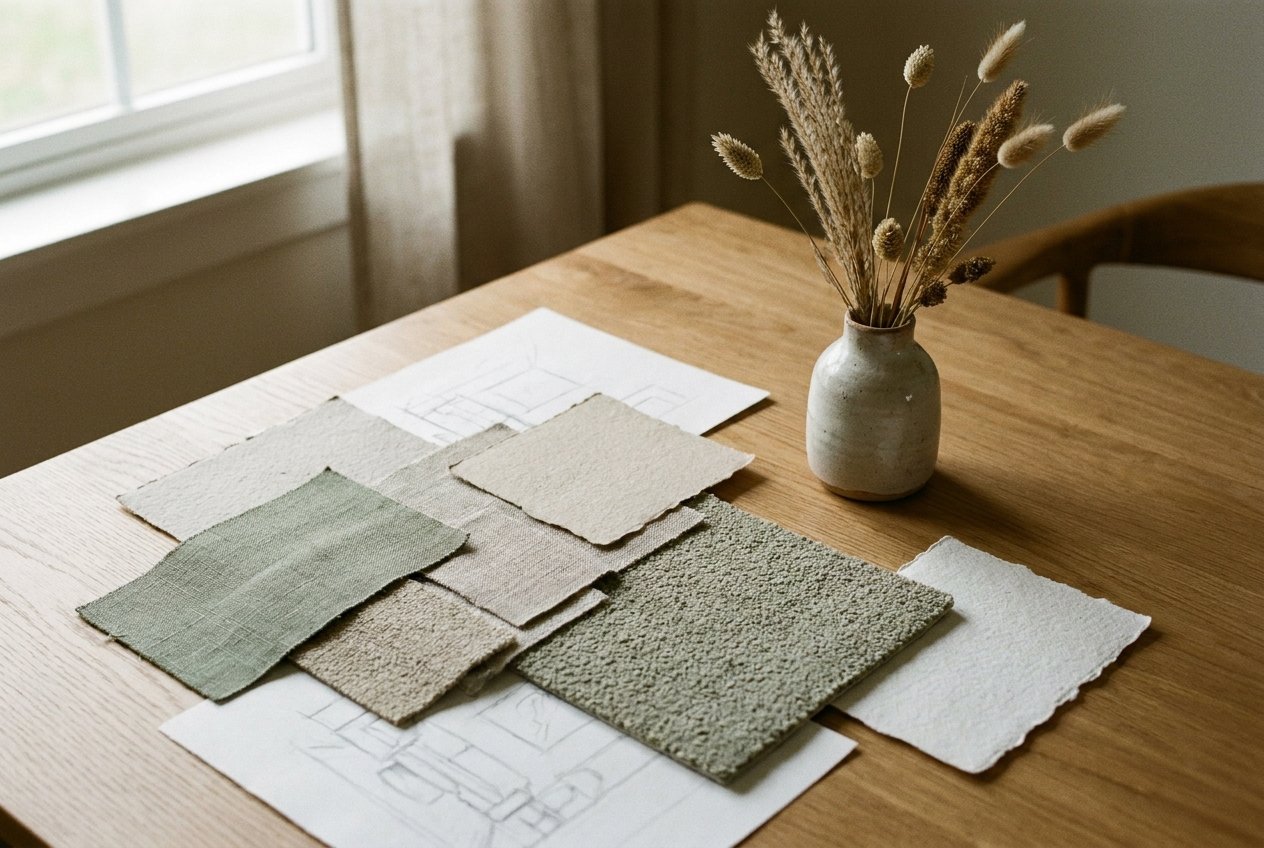
She's been building mood boards using AI. And honestly? What she showed me was impressive.
I'm going to walk you through two different ways to do exactly what she's doing. They suit different starting points. One begins with a single image you already love, the other starts with a folder full of inspiration you've been collecting for months. Both end in a polished, professional mood board that would have taken hours to build by hand.
You don't need to start from scratch. You just need to know which door to walk through.
Method 1: You have one image you love
Maybe it's a room you screenshot from Instagram at 11pm. A hotel lobby you photographed on holiday. A corner of a café that just felt right and you've never been able to explain exactly why.
This workflow starts there, with that one image, and uses AI to reverse-engineer the mood, extract the design language, and build you a prompt you can take straight into image generation.
Step 1: Upload and analyse
Take your image into Claude or ChatGPT. Ask it to analyse the mood, colour palette, textures, materials, and overall aesthetic. Be specific in what you ask for. The more granular the brief, the more useful the output.
Try: "Analyse this image for an interior design brief. Describe the mood, colour palette, key materials, textures, lighting quality, and overall style direction."
Step 2: Generate a flatlay prompt
Once the AI has described your image back to you in design language, ask it to write a full flatlay mood board prompt based on that analysis. This becomes your brief for image generation.
Try: "Using that analysis, write me a detailed prompt for an AI image generator to create a professional interior design flatlay mood board. Include materials, textures, colour swatches, and styling references."
Step 3: Review and refine
Read through the prompt before you use it. This is where you add the details that matter to your specific project: a cabinet handle you've already spec'd, a fabric you're committed to, a finish that's non-negotiable. Drop in a reference image if you have one. This step takes two minutes and makes the result genuinely yours.
Step 4: Build in Nano Banana
Take your final prompt into Gemini and open Nano Banana. This is the image generation tool I use for visual work. It handles material richness and design realism better than most. Paste the prompt, generate, and refine from there.
If you want the mood board to move (a slow pan, a gentle fade), Kling AI can animate it. Not always necessary, but worth knowing the option exists.
Method 2: You have a folder full of saved inspiration
Years of screenshots, saved posts, photographed magazine pages, and Pinterest boards that have never quite coalesced into anything usable.
This workflow uses Nano Banana differently. Not as a prompt-to-image tool, but as a synthesis engine. You feed it multiple images and let the AI find the visual relationships between them.
Step 1: Gather your reference images
Start wherever you usually do: Pinterest, Google, Instagram, Midjourney, screenshots on your own camera roll. Pull together the images that feel most relevant to the project. Buildings, art, materials, lighting, textures. Right-click and save the ones you want to work with.
Focus on specificity over volume. Ten images that truly reflect the direction are more useful than forty that loosely gesture at it.
Step 2: Upload to Nano Banana
Open Nano Banana Pro (accessible via Gemini, or directly through a paid OpenArt.ai subscription). Hit the (+) icon and upload all your saved images at once. This allows the AI to read across the collection, identifying recurring colours, textures, proportions, and mood, rather than treating each image in isolation.
Step 3: Synthesise into a mood board
Use this prompt to generate your first mood board from the uploaded references:
Create a photograph of an interior design mood board that incorporates elements from all the uploaded images. The mood board should be organised, considered, and crafted like a professional interior design mood board flatlay for design purposes. Minimally overlap elements where applicable and use design techniques like collaging and transparency. White background. Do not include any text.
Review the output. Regenerate if needed. This is your synthesis: the AI's reading of what all your inspiration has in common.
Final step, with either method: translate to a room render
Once your mood board feels right, you can take it one step further. Use the mood board as a visual brief to render an actual room. Upload the mood board alongside a reference image of an empty room and use this prompt:
Use the attached mood board as a visual reference for style, colour palette, materials, textures, finishes, and overall atmosphere. Apply these design elements to the attached reference image of the empty room. Keep the architectural structure of the room exactly as shown in the reference, including walls, windows, flooring, ceiling height, layout, proportions, perspective, and natural light. Do not alter the structure, camera angle, or geometry in any way. Design a hyper-realistic, professionally styled interior that reflects the same aesthetic, mood, and level of refinement as the mood board. Translate it into appropriate furniture, finishes, lighting, artwork, textiles, and décor, ensuring everything feels cohesive and intentional. Only add furniture, décor, materials, and styling elements inspired by the mood board. Do not introduce unrelated styles or colours. The final result should feel complete, balanced, and architecturally appropriate, with realistic lighting, accurate scale, natural shadows, and high-quality textures.
Which one is right for you?
If you're starting with one strong image, a clear reference point, a room that already captures the feeling you're working towards, start with Method 1. It's faster, and it builds directly from something you already love.
If you're in that earlier, messier stage, inspiration gathered but not yet coherent, Method 2 does the synthesis work for you. It turns a scattered folder into a design direction.
The designer I mentioned at the start? She used both. Method 1 for a client who came in with a very clear reference image. Method 2 for a project where the brief was deliberately open. She'd collected inspiration for months but hadn't committed to a direction.
In both cases, the AI didn't replace her judgement. It accelerated the part that used to eat her time: the slow, manual work of translating feeling into something presentable.
The creative decisions are still yours. The hours are just yours now too.
A note on AI and professional value
There's a conversation worth having here, and it matters regardless of what industry you're in.
Using AI in your work does not make your service worth less. It makes it more precise.
The mood board workflows above don't save a designer time in the way that cutting corners saves time. They redirect it. The hours that used to disappear into manual assembly (gathering, arranging, iterating) are now hours available for the part of the work that actually requires a human: the listening, the intuition, the judgement call that turns a brief into something that feels exactly right.
Your client doesn't need a technical briefing on every tool in your process. But if they ask, the answer is straightforward and honest: you use AI because it helps you deliver better work. More considered, more accurate, more personal to them. That's not a disclaimer. That's a differentiator.
AI allows you to synthesise more, test more directions faster, and arrive at a stronger recommendation. That's not efficiency for its own sake. That's quality, and your clients will feel it in the result, even if they never think about how you got there.
You don't owe anyone an apology for using the best tools available. A surgeon doesn't explain the equipment. An architect doesn't justify the software. The frame is simple: the tools help me serve you better. That's it.
The value was never in the hours. It was always in the judgement.
If you try either of these this week, I'd genuinely love to know how it goes.